Video editing is needed in movies, content, marketing, and education. Adobe Premiere Pro is a versatile video editor for beginners and pros. This post will teach you how to quickly edit and process Adobe Premiere Pro videos to generate high-quality ones.
Setting up & Installing
Adobe Premiere Pro can be downloaded and installed from the Adobe Creative Cloud. Make sure your machine meets minimal system requirements for optimal performance. Configure your workspace in Premiere Pro after installation. Despite the software’s intimidating design, learning its foundations is important for smooth editing.
Customizing Your Workspace
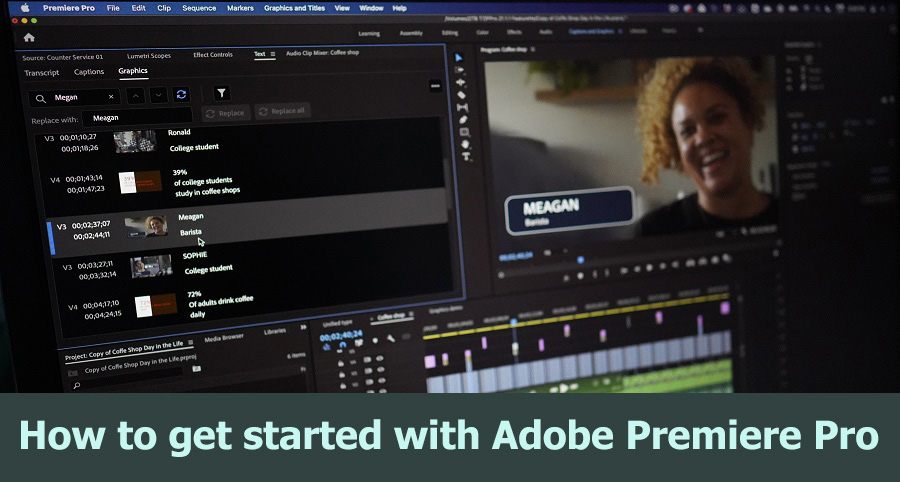
Premiere Pro’s interface has Project, Timeline, Source, Program, and Effects panels. Dragging and dropping panels customizes this workplace to your workflow. A tidy workstation boosts productivity. To save your personalized workspace, go to `Window > Workspaces > Save as New Workspace`.
Importing and organizing media
Media files must be imported to edit. Select `File > Import` or utilize the `Media Browser` to import video, audio, and image files. Premiere Pro supports many file formats, making it adaptable for different media.
Media asset categorization is essential for easy editing. Create folders to organize files in the Project Panel. Separate bins can hold raw footage, audio, graphics, and sequences. This arrangement saves editing time by rapidly finding and managing assets.
New Sequence Creation
A sequence compiles and edits video clips. To build a new sequence, select `File > New > Sequence` and select a preset that fits your footage parameters. You can also tailor sequence parameters to your project.
Basic Editing Methods
Add Clips to Timeline
Transfer media from the Project Panel to the Timeline. Premiere Pro automatically splits audio and video. The majority of your editing will be done here.
Trimming Clips
Trimming clips is essential editing. Adjust clip in and out points on the Timeline using the Selection Tool (V). The Razor Tool (C) splits clips at any point for precise cuts.
Using Source Monitor
The Source Monitor is essential for previewing and editing raw footage before adding to the Timeline. Double-click a Project Panel clip to open it in Source Monitor. Select the clip segment you wish to utilize using the Mark In (I) and Mark Out (O) buttons, then drag it to the Timeline.
Improve Your Video
Adding Effects
Premiere Pro has many video effects. Effects Panel has these. Drag effects onto Timeline clips to apply them. Common effects are color correction, blurring, and sharpening. Try several effects to get the right video appearance.
Make Audio Edits
Good audio is as vital as pictures. Premiere Pro lets you alter audio levels, add effects, and sync audio and video. Use the Audio Mixer to adjust audio volume and maintain it throughout your video.
Correcting and Grading Colors
Your video can look different with color correction and grading. The Lumetri Color panel controls exposure, contrast, highlights, shadows, and more. Color grading enhances your project’s appeal by creating a mood or style.
Conclusion
It is important to learn Adobe Premiere Pro to edit videos better. Create professional videos by setting up your workspace, importing and organizing media, editing, enhancing, and exporting. Practice and explore the software’s various capabilities to create stunning content.

